
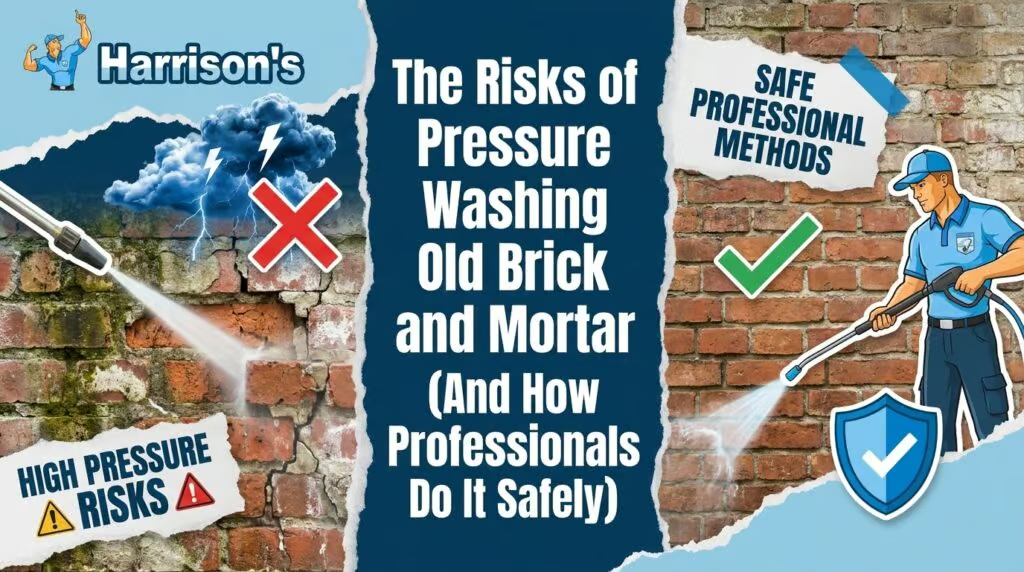
Pressure washing is often the first solution that comes to mind when old brick starts looking tired, stained, or covered in moss. But high-pressure water can do far more harm than good on aged masonry. The real danger isn’t the brick face itself—it’s the mortar joints and the porous structure behind them. Understanding these risks is the first step toward cleaning that preserves your brick rather than accelerating its decline.
In our experience, the most common mistakes are using too much pressure, spraying directly into mortar lines, and forcing water deep into the wall. Each of these can lead to spalling, cracked joints, efflorescence, and hidden moisture problems. Professionals avoid these outcomes by adjusting pressure, chemistry, and technique to the specific age and condition of the brick.
The Hidden Dangers of Pressure Washing Old Brick and Mortar
Why Older Bricks Are More Susceptible to Damage
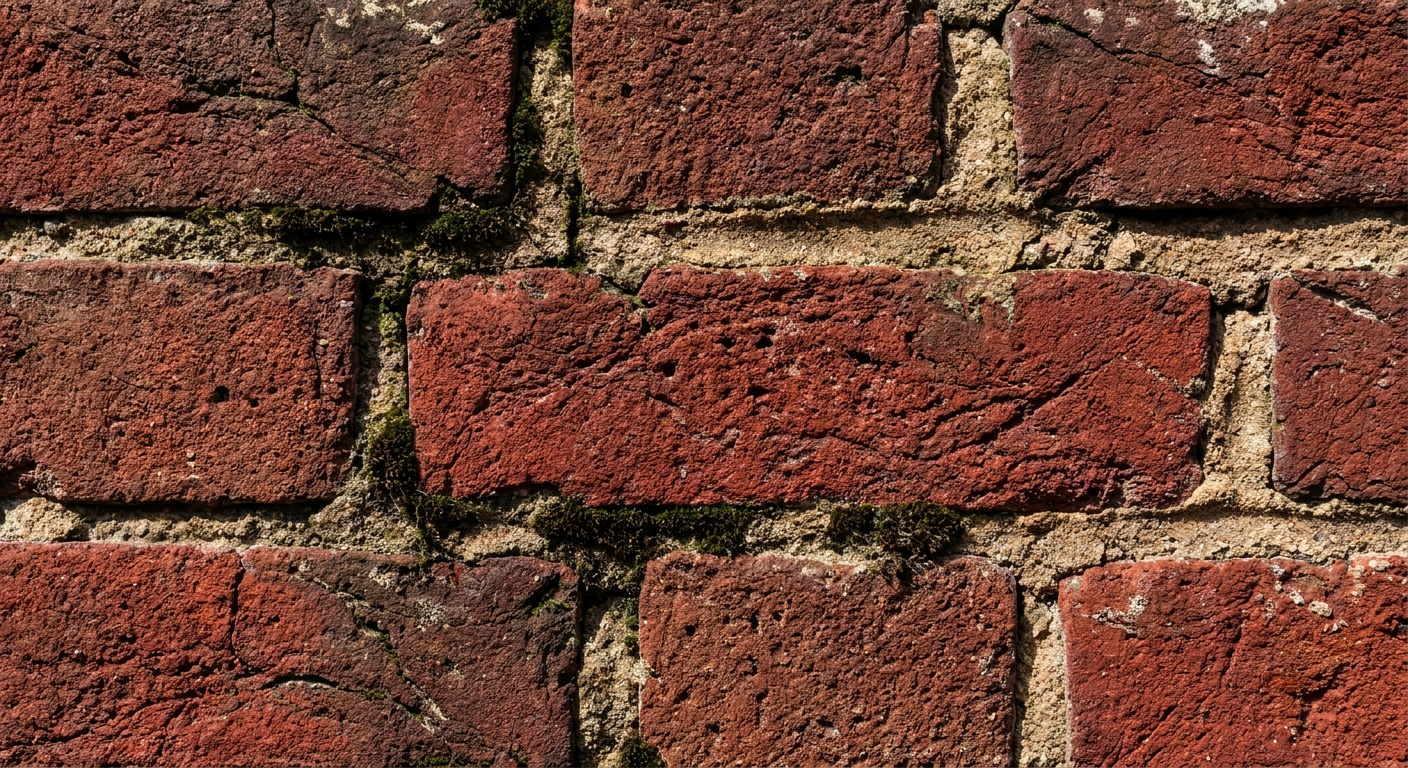
Older bricks are rarely as dense as modern extruded bricks. Many were fired at lower temperatures or made with local clays that left them softer and more porous. Decades of weathering can also wear away the hard outer “fire skin,” exposing the more fragile interior. Handmade or reclaimed bricks are especially vulnerable because their surfaces are irregular and less compacted. When high-pressure water hits these surfaces, it can erode the brick face itself, leaving a rougher texture that traps even more dirt and moisture.
How Mortar Joints Erode Under High Pressure
Mortar is the weak point in any brick wall, and old mortar is often lime-based and much softer than the bricks around it. A pressure washer aimed directly at a mortar joint acts like a chisel, blowing out sand and lime particles. Within seconds, a 1,500 PSI stream can etch deep grooves into joints that took a century to weather naturally. Once mortar is eroded, the bricks lose lateral support, and gaps open up for water to enter.
We never use a zero-degree nozzle or a rotating turbo tip on old brick. Those concentrate pressure into a tiny area and are responsible for nearly all the mortar damage we see on older homes. Even a 40-degree fan at close range can cut into soft joints if the operator lingers too long.
Water Intrusion: A Pathway to Efflorescence, Mold, and Freeze-Thaw Cracking
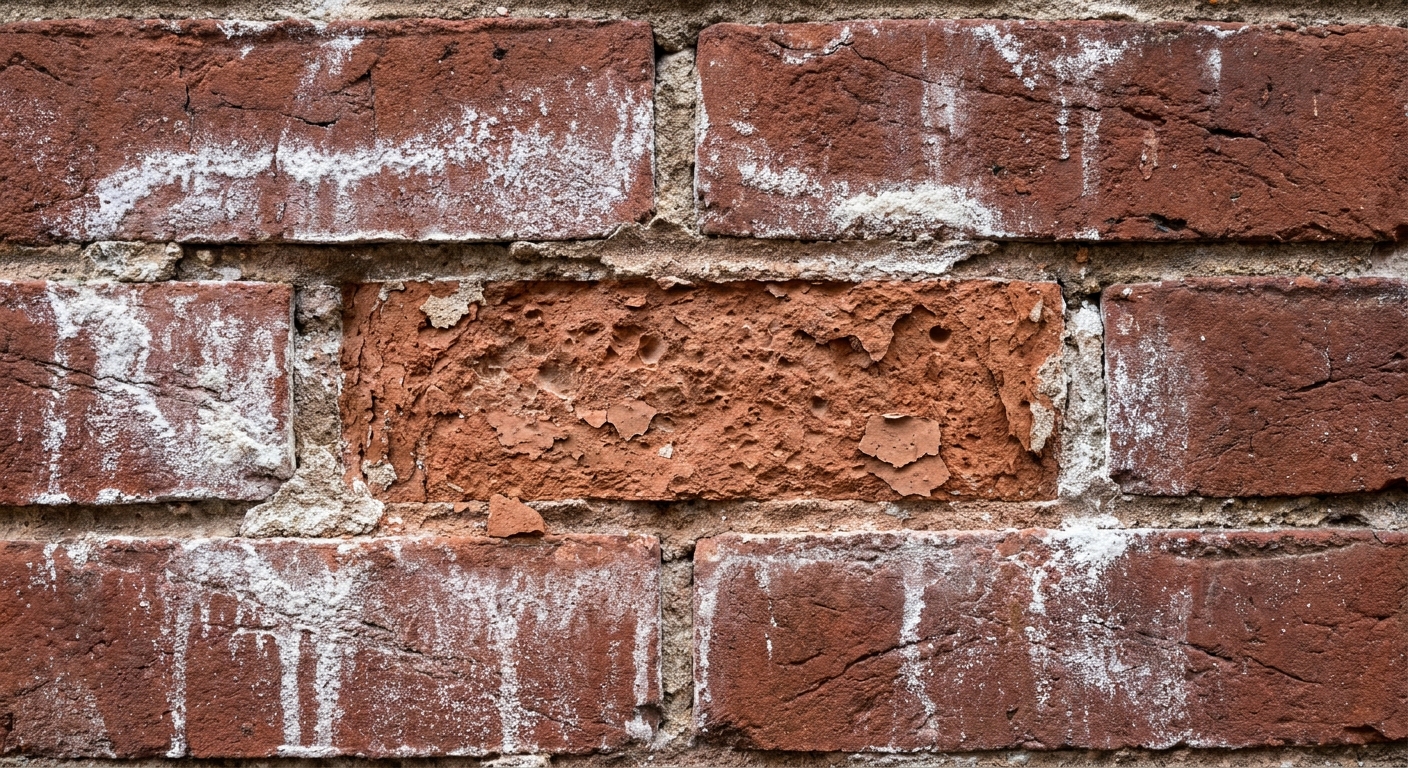
Forcing water into a brick wall is worse than the damage you can see on the surface. Water that saturates the brick and mortar creates a pathway for efflorescence—white salt deposits that appear as moisture migrates through the masonry and evaporates. Trapped moisture also feeds mold and mildew behind the brick, which can spread to interior framing and insulation. In colder months, that water freezes and expands, producing hairline cracks that grow with every freeze-thaw cycle. Over time, the surface of the brick spalls off in chunks, and the wall’s structural integrity quietly deteriorates.
Professional Soft Washing: A Gentle Cleaning Alternative
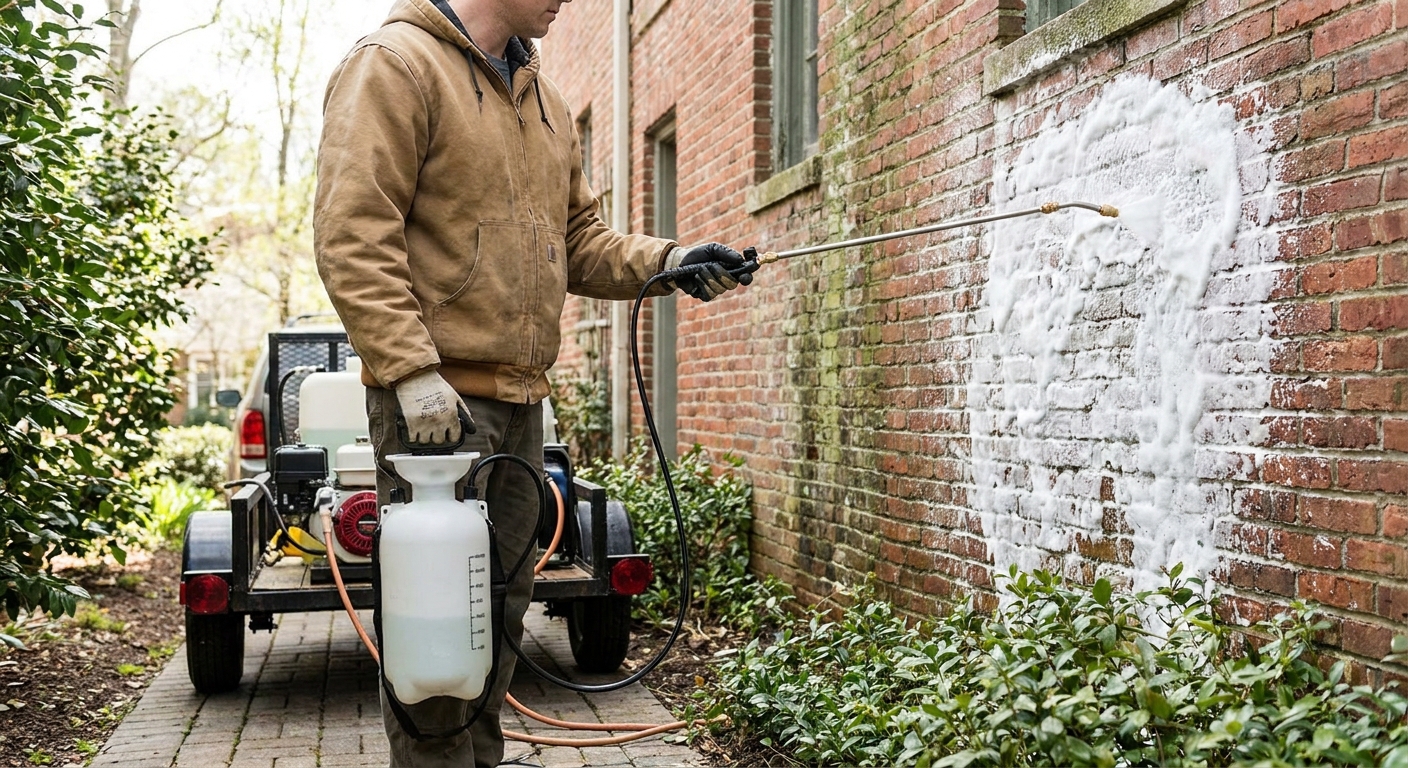
For most older brick, we recommend soft washing over pressure washing. Soft washing uses very low pressure—typically under 500 PSI—to apply a biodegradable cleaning solution that breaks down algae, moss, mildew, and embedded dirt chemically. The solution is allowed to dwell for several minutes, then rinsed with a gentle stream of water. Because there is no mechanical force to speak of, mortar joints and soft brick faces remain untouched.
This method is especially effective on old brick because it treats the biological growth at its root. Algae and moss leave behind spores and filaments that pressure washing alone often fails to remove; soft washing kills those organisms and prevents rapid regrowth. It also avoids saturating the wall, which reduces the risk of freeze-thaw damage. We use this approach on nearly every pre-1960 brick home we clean.
Our team relies on more than 30 years of combined experience to select the right cleaning chemistry for each brick type, because using the wrong agent can stain or etch the surface even without pressure.
When Pressure Washing Is Appropriate: Expert Techniques and Settings
There are situations where a careful pressure wash is acceptable—for example, on very dense engineering brick, or to rinse away heavy soot after a soft wash treatment. But the settings and technique have to be dialed in precisely.
Recommended PSI and Nozzle Selection for Old Brick
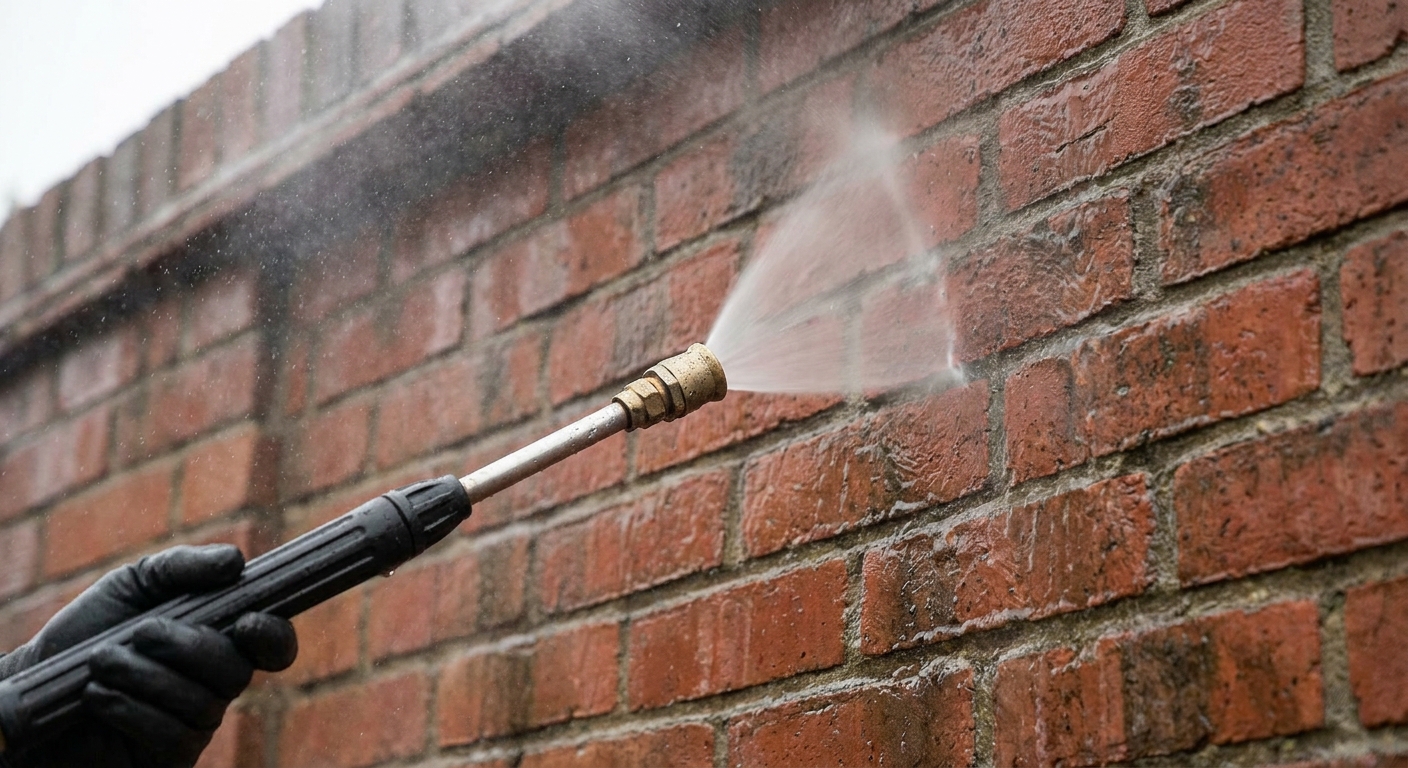
For old brick, we stay between 500 and 800 PSI, and only go up to 1,200 PSI if the brick is unusually hard and the mortar is modern Type S or stronger. Anything above that risks etching the brick and eroding joints. The nozzle must be a 40-degree fan tip or wider; a 65-degree tip is even safer for large flat areas. We never use a 15-degree, 0-degree, or rotating turbo nozzle on masonry.
Before treating the entire wall, we always test a small, inconspicuous area—behind a bush or at foundation level—and check for loosening mortar or surface pitting. If the test area shows any change, we stop and switch to soft washing.
Proper Spray Angles, Distance, and Motion to Prevent Damage
Angle and distance matter as much as pressure. We hold the nozzle at least 12 to 16 inches from the brick face and spray at a 45-degree angle, never perpendicular. A perpendicular spray drives water straight into the pores and joints; an angled spray deflects it and reduces impact. We also always spray with a consistent side-to-side sweeping motion, overlapping each pass by about 30%, and we never stop moving on one spot.
One rule we enforce on every job: never aim water upward. Spraying upward into the underside of brick courses forces water behind the wall and can damage weep systems and flashing. All rinsing is done from top to bottom so water drains away from the clean surface rather than soaking back into it.
Pre-Cleaning Preparation: Safeguarding the Brickwork
Assessing Brick Condition and Patching Mortar
Before any water touches the wall, we do a thorough inspection. We look for hairline cracks, loose bricks, hollow-sounding mortar joints, and existing spalling. If we find deteriorated mortar, we patch those joints at least a week before cleaning and let the repair fully cure. Washing over fresh, soft mortar will wash it right out. We also note any areas that are already compromised so we can document them and avoid applying pressure there.
This step is non-negotiable because water under even modest pressure will find any weak joint and make it worse. Sealing those weak points first means we are cleaning a structurally sound surface, not eroding an already fragile one.
Covering Outlets and Windows, and Pre-Wetting Surfaces
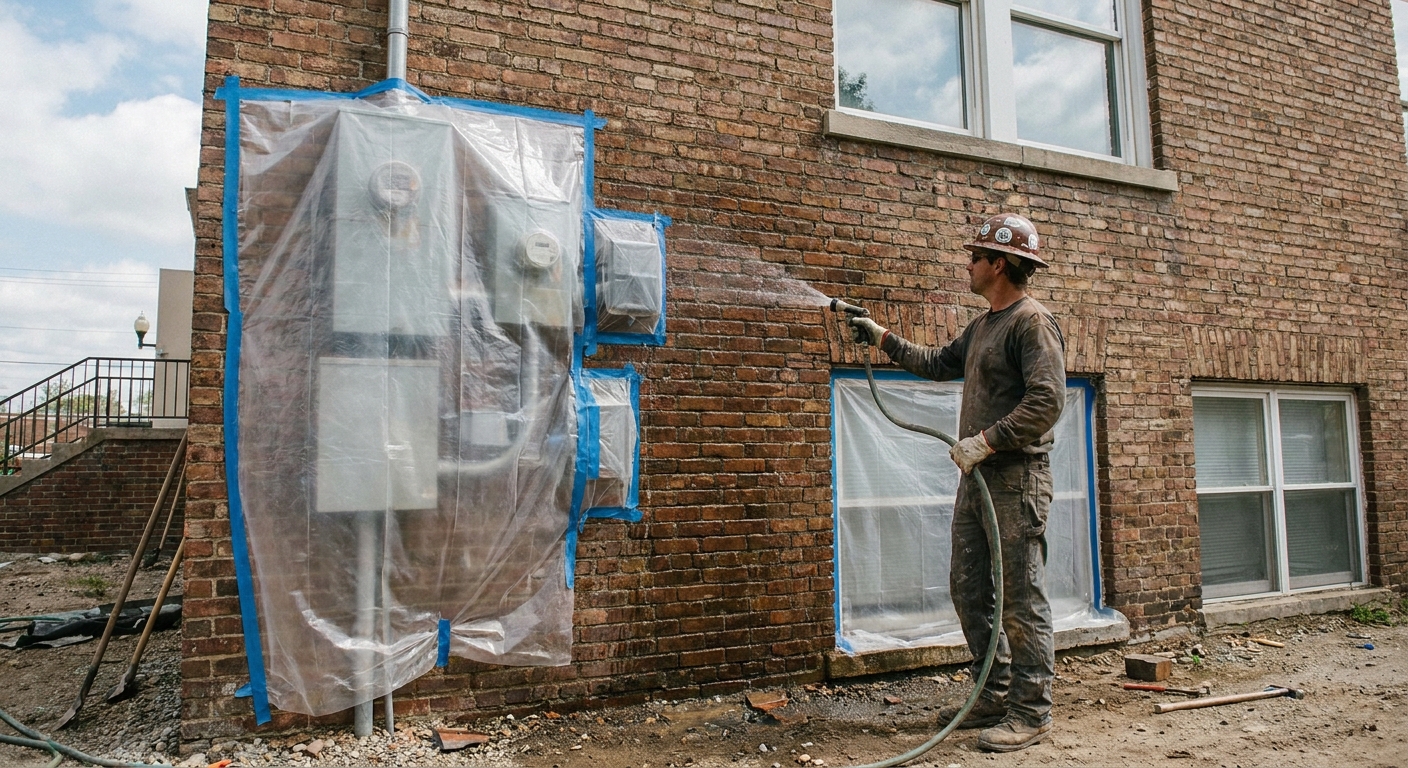
We cover all exterior electrical outlets, light fixtures, and any exposed wiring with plastic and tape. Windows, door frames, and trim are masked because cleaning chemicals can etch glass and strip paint. We also protect nearby plants and soil with drop cloths, and we pre-wet the brick from bottom to top before applying any detergent. Pre-wetting saturates the pores so the brick does not greedily absorb the cleaning solution, which reduces staining and chemical damage.
Post-Wash Inspection and Mortar Repair
Allowing Proper Drying Time and Inspecting for Damage
Once the cleaning is complete, we allow the wall to dry for at least 48 to 72 hours before making any final judgments. Wet brick hides stains and cracks, and premature inspection can lead to missed damage or unnecessary re-cleaning. After drying, we walk the entire wall and check for loose mortar, widened cracks, or new efflorescence. We compare the results to the pre-cleaning inspection photos to see if any joints shifted.
If we find minor mortar loss, we flag it for repair. This is often not a sign of poor technique—old mortar can be so fragile that even the gentlest soft wash dislodges particles that were already failing. The key is catching it early before water has a chance to enter.
Tuck-Pointing to Restore Joint Integrity
When joints have eroded, tuck-pointing is the correct repair. We remove loose or crumbling mortar to a uniform depth, usually about ¾ inch, and pack in new mortar that matches the existing color and strength. For old brick, that usually means a lime-based mortar rather than a hard Portland cement, because a mortar that is harder than the brick will cause the brick to spall instead of the joint. After tuck-pointing, the wall is not only clean but also structurally stronger and better able to shed water.
Conclusion: Protecting Your Old Brick Investment
Old brick has a character and durability that modern materials cannot replicate, but it demands a gentler hand. High-pressure washing may look like a quick fix, but the long-term cost in eroded mortar, spalled bricks, and hidden water damage is far greater than the problem it solves. By using soft washing at low pressure, testing settings on an inconspicuous area, pre-wetting, and repairing joints before and after cleaning, professionals preserve the brick’s structural integrity while restoring its appearance.
If you have old brick that needs cleaning, contact us for a safe, professional assessment and a method tailored to your wall’s age and condition.