
Modern windows often feature specialized coatings that improve energy efficiency and reduce glare, but these coatings are far more delicate than ordinary glass. A single pass with a razor blade or a squirt of an ammonia-based cleaner can permanently etch, haze, or discolor Low-E and tinted surfaces. Fortunately, the right tools, gentle solutions, and a careful technique can keep these windows clean without compromising their performance or appearance.
In our years of cleaning all types of window glass, we have seen how quickly well-intentioned cleaning can go wrong. Understanding what these coatings are and how they react to different cleaning agents is the first step toward protecting your investment.
Understanding Low-E and Tinted Glass Coatings
The Purpose and Benefits of Low-E Coatings
Low-E (low-emissivity) glass is treated with a microscopically thin layer of metallic oxide that reflects infrared heat while allowing visible light to pass through. This coating improves insulation by keeping heat inside during winter and outside during summer, and it also blocks a significant portion of harmful UV rays. Some Low-E coatings are applied to the inside surface of the outer pane, while others are sealed inside the insulated glass unit. Exposed coatings—especially soft-coat varieties—are extremely sensitive to scratching and chemical damage, which is why they require special care.
How Tinting Affects Glass Surface Properties
Tinted windows achieve their darker appearance through either integrated dyes in the glass or surface-applied films. These tints reduce glare and increase privacy, but the dye or film layer can be vulnerable to certain chemicals. Ammonia, in particular, can break down the adhesives in window films and cause discoloration or bubbling. Even if the tint is inside the glass, harsh cleaners can degrade the outer surface over time. Always treat tinted glass as a delicate surface and avoid aggressive cleaning methods.
Essential Tools and Materials for Safe Cleaning
Soft Microfiber Cloths and Squeegees
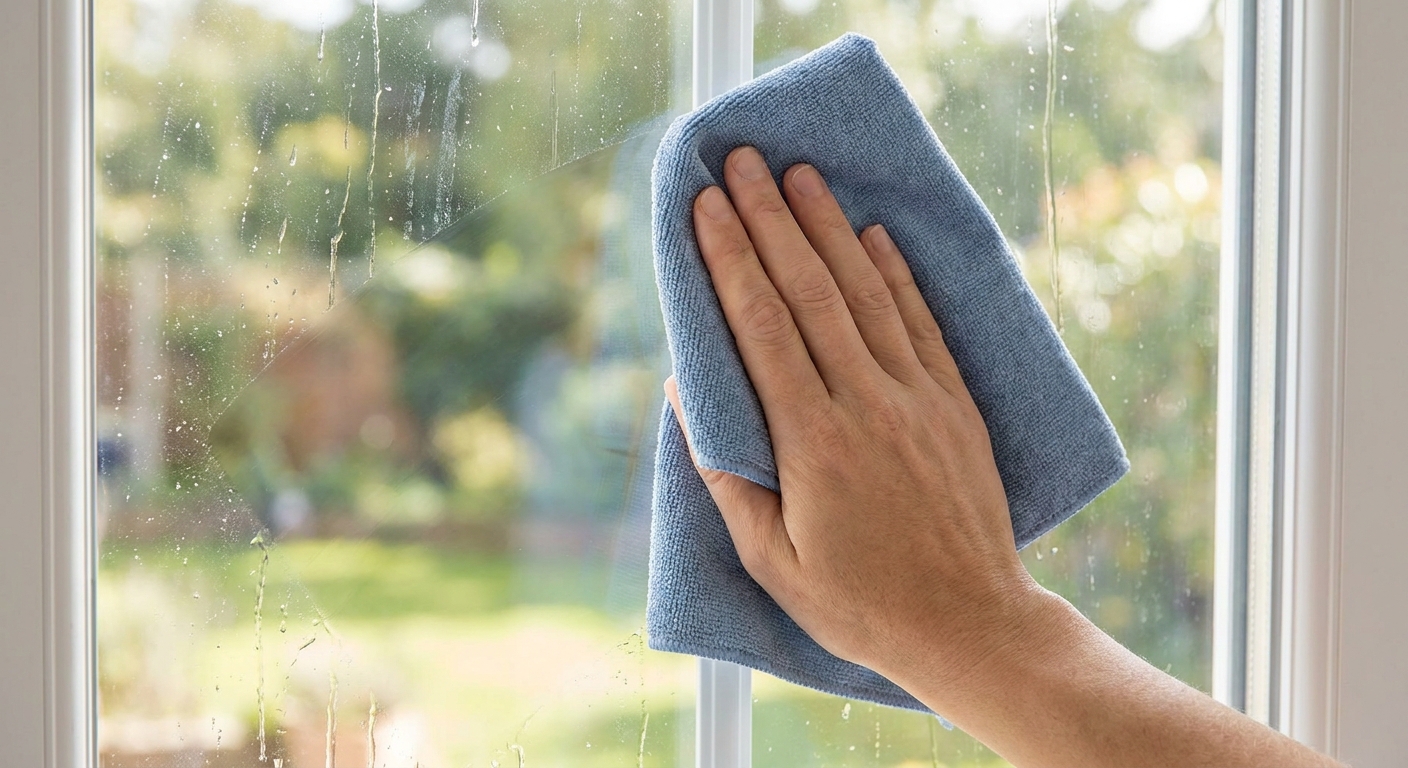
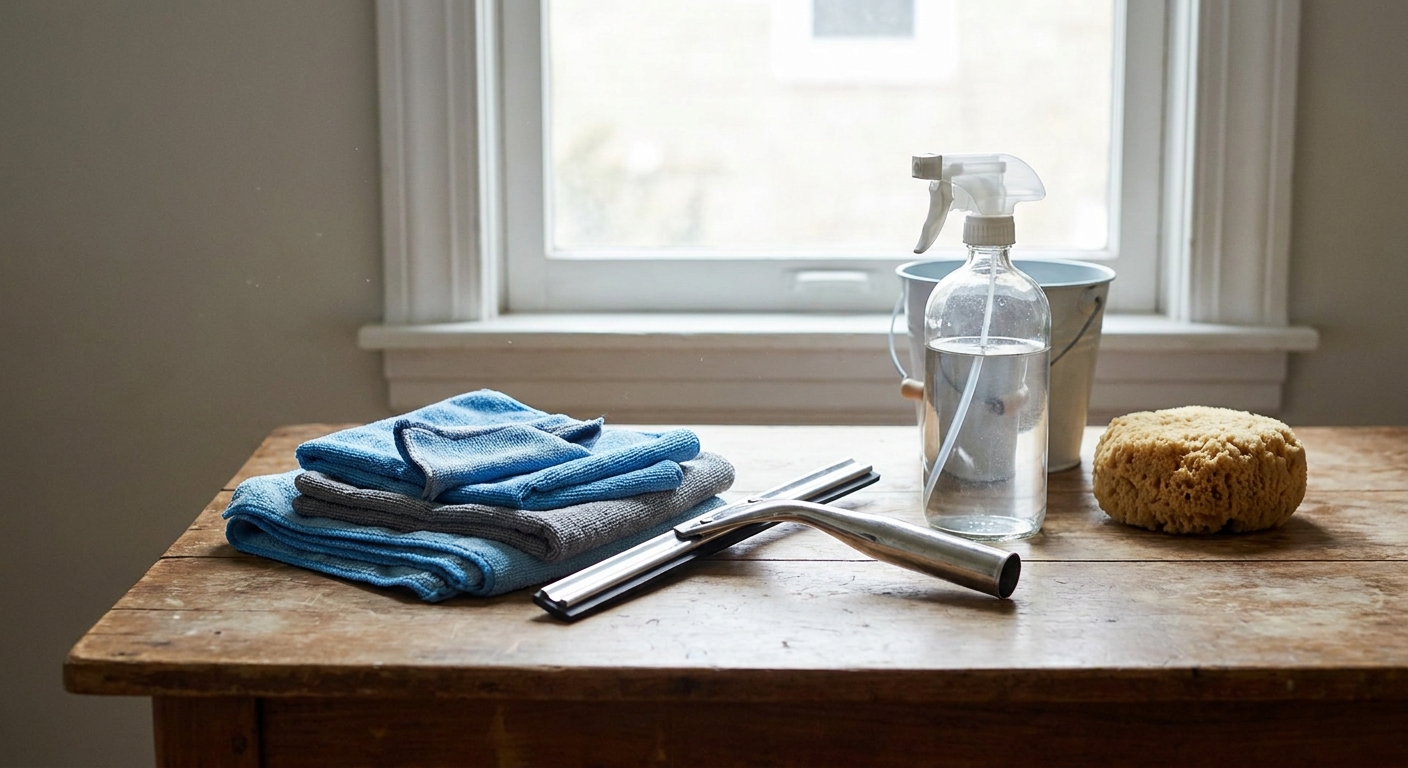
When cleaning coated glass, the tools you use matter as much as the solutions. We recommend having several clean, lint-free microfiber cloths on hand—some for applying the cleaning solution and others for drying and buffing. Microfiber lifts dirt away from the surface without scratching because the fibers trap particles rather than dragging them across the glass. A squeegee with a clean rubber blade can also be used, but make sure the blade is free of debris and not worn, as a nicked edge can leave fine scratches. Never use paper towels, newspaper, or cloths that may contain abrasive particles.
Avoiding Abrasive Scrubbers and Scrapers
Abrasive scrubbers, steel wool, and even a brand-new razor blade can permanently damage Low-E and tinted coatings. The metallic oxide layer on Low-E glass is thinner than a human hair and can be scratched by something as soft as a fingernail. Scrapers should be avoided entirely unless you are absolutely certain the coating is on the opposite surface and you have tested an inconspicuous area first. For most routine cleaning, soft cloths and gentle pressure are all you need.
Recommended Cleaning Solutions and Products
Gentle, pH-Neutral Cleaners
The safest commercial cleaners for tinted and Low-E windows are those that are pH-neutral and free of ammonia, alcohol, and harsh solvents. Many all-purpose glass cleaners fall into this category, but always read the label to confirm. Look for products specifically designed for coated or tinted glass. A mild dish soap diluted in water can also work well for light cleaning—just a few drops per quart of water is plenty.
Homemade Solutions: Diluted Vinegar and Water
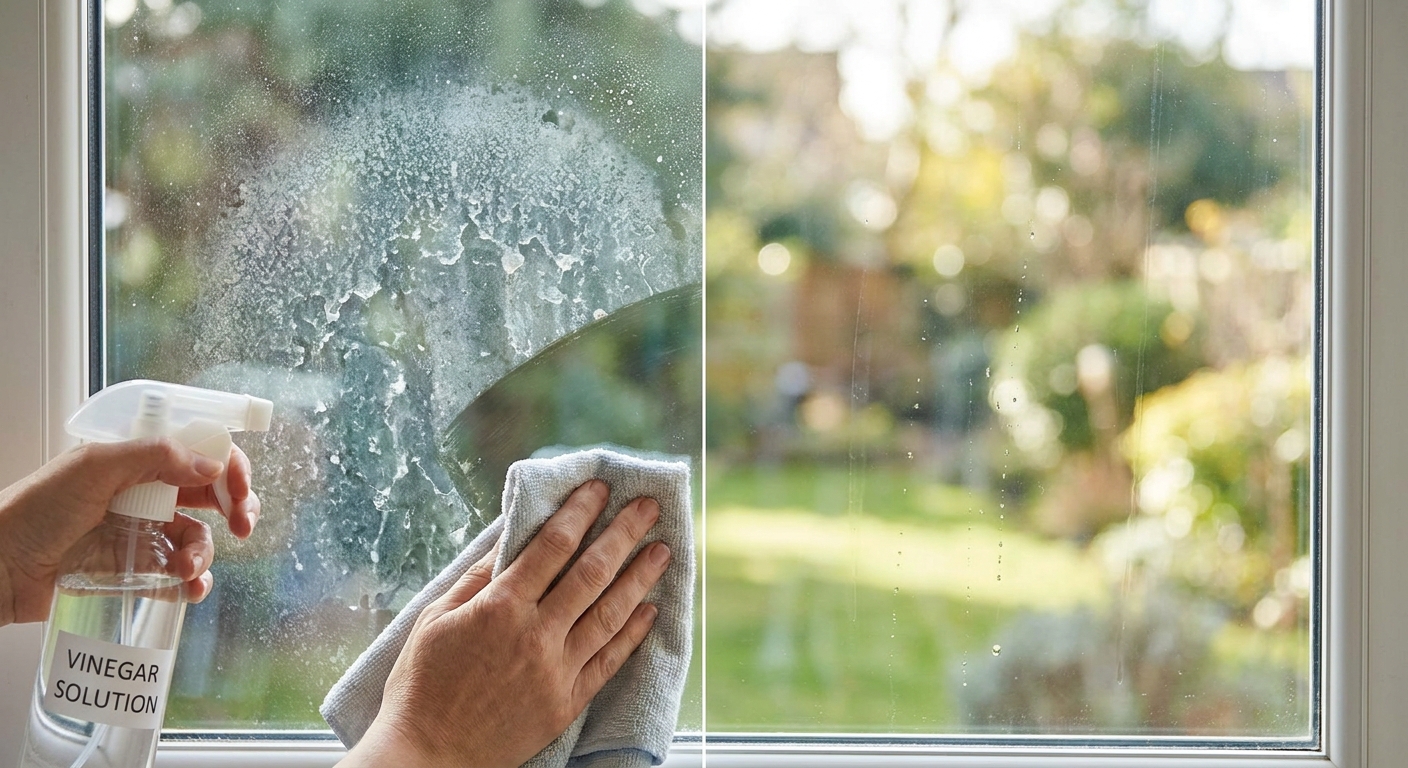
A reliable homemade option is a mixture of one part white vinegar to ten parts water. This solution is gentle enough for most coated glass and effective at breaking down mineral deposits and light grime. If your tap water is hard, use distilled water to avoid mineral streaks. Apply the solution lightly and avoid letting it sit too long, as prolonged exposure to acid—even a mild acid like vinegar—can eventually affect some coatings.
Chemicals to Avoid (Ammonia, Bleach, etc.)
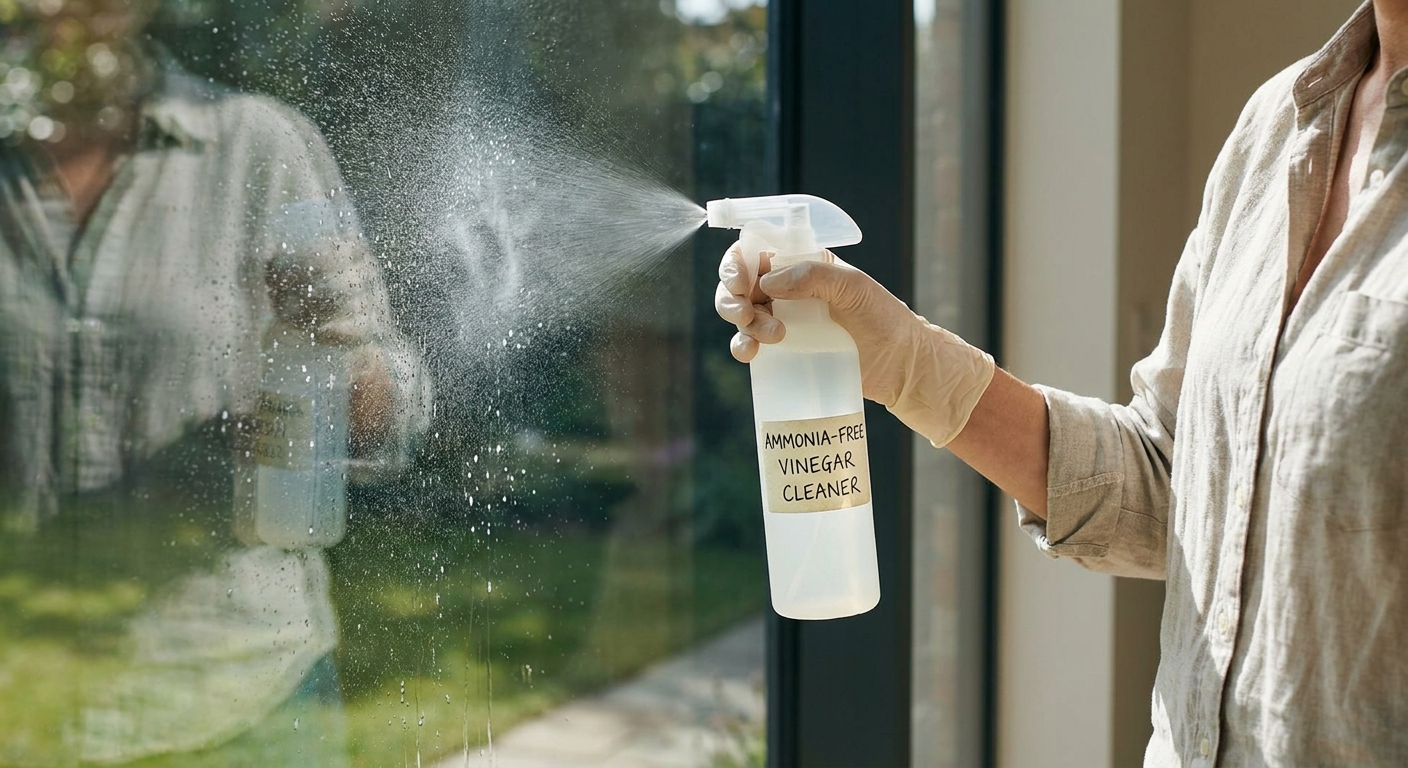
Ammonia is the most common culprit in window coating damage. Many standard blue glass cleaners contain ammonia, which can break down the adhesive in window films and cause permanent haze on Low-E coatings. Bleach and other strong alkaline or acidic cleaners are equally harmful. Rubbing alcohol and acetone should only be used as a last resort for stubborn stains, and never as a general-purpose cleaner. When in doubt, stick with mild, pH-neutral options.
Pre-Cleaning Precautions and Surface Testing
Checking Manufacturer Guidelines
Before cleaning any coated window, check the manufacturer’s documentation if available. Many window and film manufacturers provide specific cleaning instructions and list products to avoid. Following these guidelines can preserve your warranty and prevent accidental damage. If you cannot find the documentation, err on the side of caution with the gentlest methods described here.
Testing on an Inconspicuous Area
Whenever you use a new cleaning solution or tool, test it on a small, hidden corner of the window first. Apply the solution, wipe gently, and wait a few minutes to see if any discoloration, hazing, or film separation occurs. If the test area looks fine, proceed with the full cleaning. This simple step can prevent irreversible damage across the entire pane.
Avoiding Extreme Temperatures
Cleaning coated glass in direct sunlight or very cold weather can cause the cleaning solution to evaporate or freeze too quickly, leaving behind stubborn residue and increasing the risk of streaking. Choose a mild day with overcast skies or work in the early morning or late evening when the glass is cool. This gives you more working time and a better result.
Step-by-Step Cleaning Process for Tinted and Low-E Windows
Preparing the Window and Surrounding Area
Start by removing loose dust and debris from the window frame and sill using a soft brush or dry microfiber cloth. Protect nearby surfaces like woodwork or painted walls from overspray if you are using a spray bottle. If the window is very dirty, you may want to do a first pass with plain water to loosen heavy grime before applying any cleaner.
Applying the Cleaner Gently
Lightly mist the cleaning solution onto the glass—do not saturate it. Allow the solution to dwell for 30 to 60 seconds so it can break down dirt and mineral deposits. If you are using a vinegar solution, this dwell time is especially helpful for hard water spots. Avoid scrubbing at this stage; let the solution do the work.
Wiping and Drying Techniques
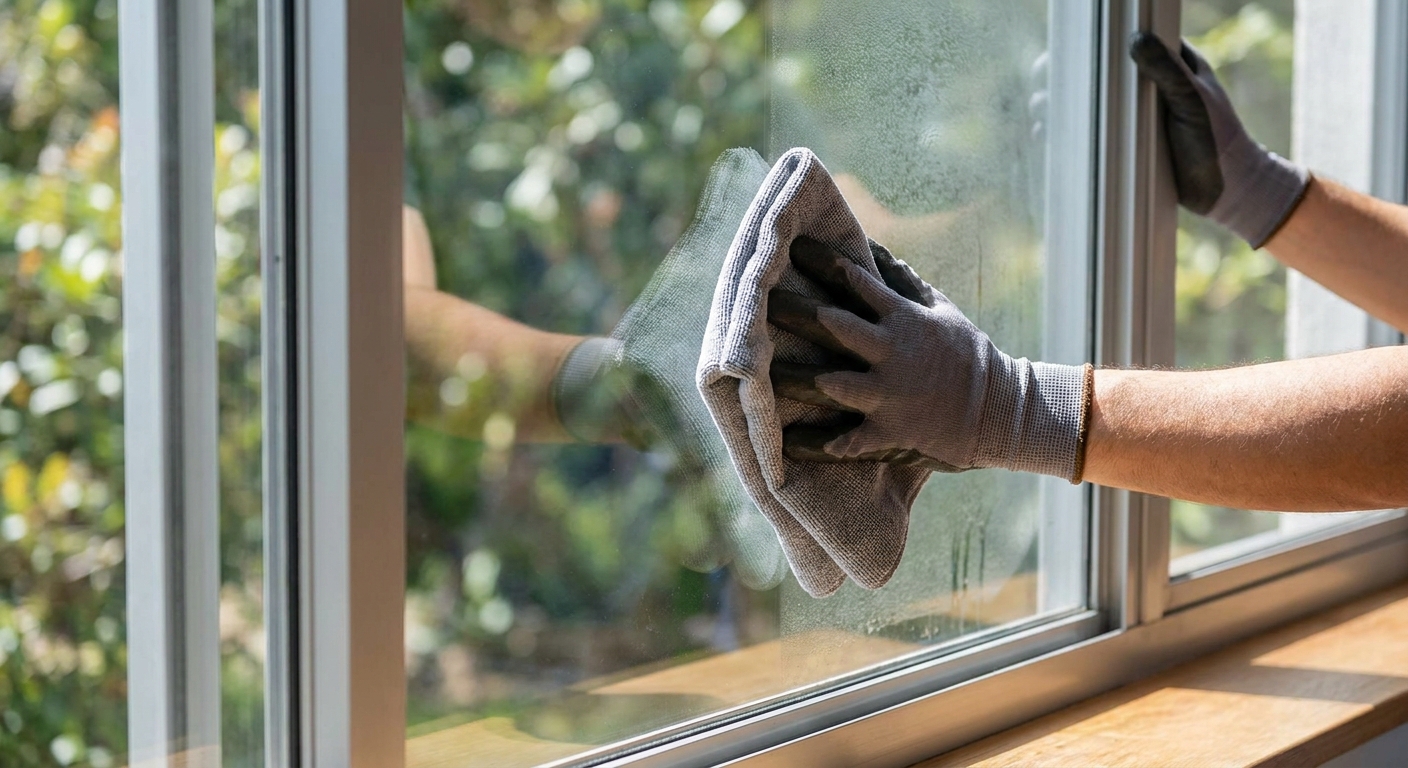
Using a clean, damp microfiber cloth, wipe the glass in a gentle circular or straight motion, applying only light pressure. Work from top to bottom to avoid drips. Immediately follow with a dry microfiber cloth to buff the surface and remove any remaining moisture. Streaks often appear when the solution is allowed to air-dry, so drying thoroughly is essential. Change to a fresh dry cloth as soon as it becomes damp.
Dealing with Stubborn Stains and Residues
Removing Adhesives and Paint Spatters
For small spots of adhesive, silicone, or paint, use a tiny amount of isopropyl alcohol or acetone on a clean cloth and dab gently—never pour the solvent directly onto the glass. This spot treatment is safe for most coatings if used sparingly and rinsed thoroughly with water afterward. For paint spatters on coated glass, a plastic scraper used with a lubricant like soapy water can sometimes lift the paint without scratching, but always test first.
Tackling Hard Water Spots
Hard water spots are mineral deposits that bond to the glass surface. To remove them from Low-E or tinted windows, soak the area with a vinegar-water solution (1:10) for one to two minutes, then wipe gently with a soft cloth. If the spots persist, repeat the process rather than increasing pressure. Avoid using acidic descaling products, as they can etch the coating.
Using Safe Solvents Sparingly
Over 30 years of combined experience in window cleaning have taught us which tough-stain removal methods are safe for coated glass and which ones cause permanent damage. Solvents like acetone and hydrochloric acid solutions are sometimes recommended for extreme grime, but they should be used only in very diluted forms and with extreme caution. In most cases, patience and gentle repetition are safer than strong chemicals.
Common Cleaning Mistakes to Avoid
Using Ammonia-Based Cleaners
Ammonia is the number one enemy of tinted and Low-E windows. It can cause permanent fogging on Low-E coatings and make window films bubble, peel, or fade. Always read ingredient lists and avoid any product that contains ammonia, even if it is marketed as a glass cleaner. A simple rule: if it smells strongly of ammonia, it is not safe for coated glass.
Scrubbing with Abrasive Pads
Abrasive scrubbers, scouring pads, and even rough cloths can leave micro-scratches that scatter light and make the window look permanently hazy. What starts as an attempt to remove a stubborn spot can end with the need for full glass replacement. Always use soft, non-abrasive tools, and let the cleaning solution do the heavy lifting.
Neglecting Manufacturer Instructions
Every window and film manufacturer has specific recommendations for cleaning and maintenance. Ignoring these guidelines can void warranties and lead to damage that would otherwise be covered. If you have the original paperwork, take a moment to review it before cleaning. When in doubt, opt for the gentlest possible approach.
Maintenance Tips for Longevity and Performance
Regular Gentle Cleaning Schedule
Rather than waiting until the windows are heavily soiled, clean them on a regular schedule—every two to three months is a good baseline. Frequent gentle cleaning prevents the buildup of dirt and minerals that require more aggressive methods later. It also allows you to inspect the coatings for early signs of wear.
Protecting Windows from Harsh Elements
While you cannot control the weather, you can reduce exposure to harsh conditions. Ensure that sprinklers do not spray directly onto windows, as hard water can leave mineral deposits. Trim back vegetation that rubs against the glass, and keep gutters clean to prevent water from cascading over the panes. These small steps reduce the need for intense cleaning.
Inspecting for Damage Periodically
During each cleaning, take a close look at the glass for any signs of discoloration, haze, scratches, or film separation. Catching problems early can sometimes allow for a less expensive repair, while ignoring them often leads to complete unit replacement. If you notice any changes in the glass’s appearance or energy performance, consult a professional before attempting further cleaning.
If you are unsure about the type of coating on your windows or prefer to have them professionally cleaned, contact us for a safe, thorough cleaning service that protects your investment.